Bissell produces all kinds of machines; from upright vacuums to canister and robotic vacuums.
And, although the company has been around for over 146 years, even their excellent products can encounter issues such as overheating!


If your Bissell vacuum is overheating, there are a few things you can try to fix the problem.
In this post you will learn:
- Why your Bissell vacuum is overheating
- How to fix a Bissell vacuum that overheats
- And more!
Why Is My Bissell Vacuum Overheating?
Your Bissell vacuum may overheat for a variety of reasons, including a full dirt tank, clogged hose, or debris stuck in the roller brush. It can also overheat due to dirty filters, a broken belt or electrical issues. The thermal protector of an overheated Bissell vacuum will normally shut the main motor off, while keeping the LED lights and brush roll on.
How Do You Fix a Bissell Vacuum That Overheats?
Before you take your Bissell vacuum apart, make sure you follow the steps below:
- Turn off your vacuum
- Unplug it
- Let it cool down for at least 30 minutes.
Bissell vacuums feature an internal thermal protector that prevents these machines from overheating.
When your Bissell vacuum gets too hot, the main motor will stop working, while the brush roll and the front LED lights of your machines will stay on.
However, without a functioning main motor, your Bissell vacuum won’t have any suction.
An overheating Bissell vacuum cleaner may even begin to smell like burning.
Thermal limit switches can easily break if not taken care of, so make sure you promptly fix whatever is causing your Bissell vacuum to overheat.
Once the motor cools for 30 minutes, the thermal protector will automatically reset, allowing your Bissell to fully work again.
Follow the steps below to fix your Bissell vacuum overheating issue:
1. Replace The Dust Bag/Empty The Dirt Tank
Most modern Bissell vacuums are bagless, with the exception of a few machines such as the Bissell Powerforce Bagged Vacuum.


The bags feature a dirt level indicator to help you understand when it is time to replace them.
You will also notice some obvious initial signs that indicate that a bag is full:
- Loss of suction power
- Debris being left behind as you vacuum
Other things to know about Bissell vacuum bags:
- Bissell recommends that you change your bag when it is 1/2 to 2/3 full
- Original Bissell vacuum bags are some of the cheapest I have seen when it comes to branded bags. The official site lists a pack of 3 for about $5
If you have a bagless vacuum, such as a:
- Bissell Crosswave
- Bissell Pro Heat 2x
- Bissell Pet Hair Eraser
I recommend you empty the dirt tank after each use or just before it reaches the “full” line:
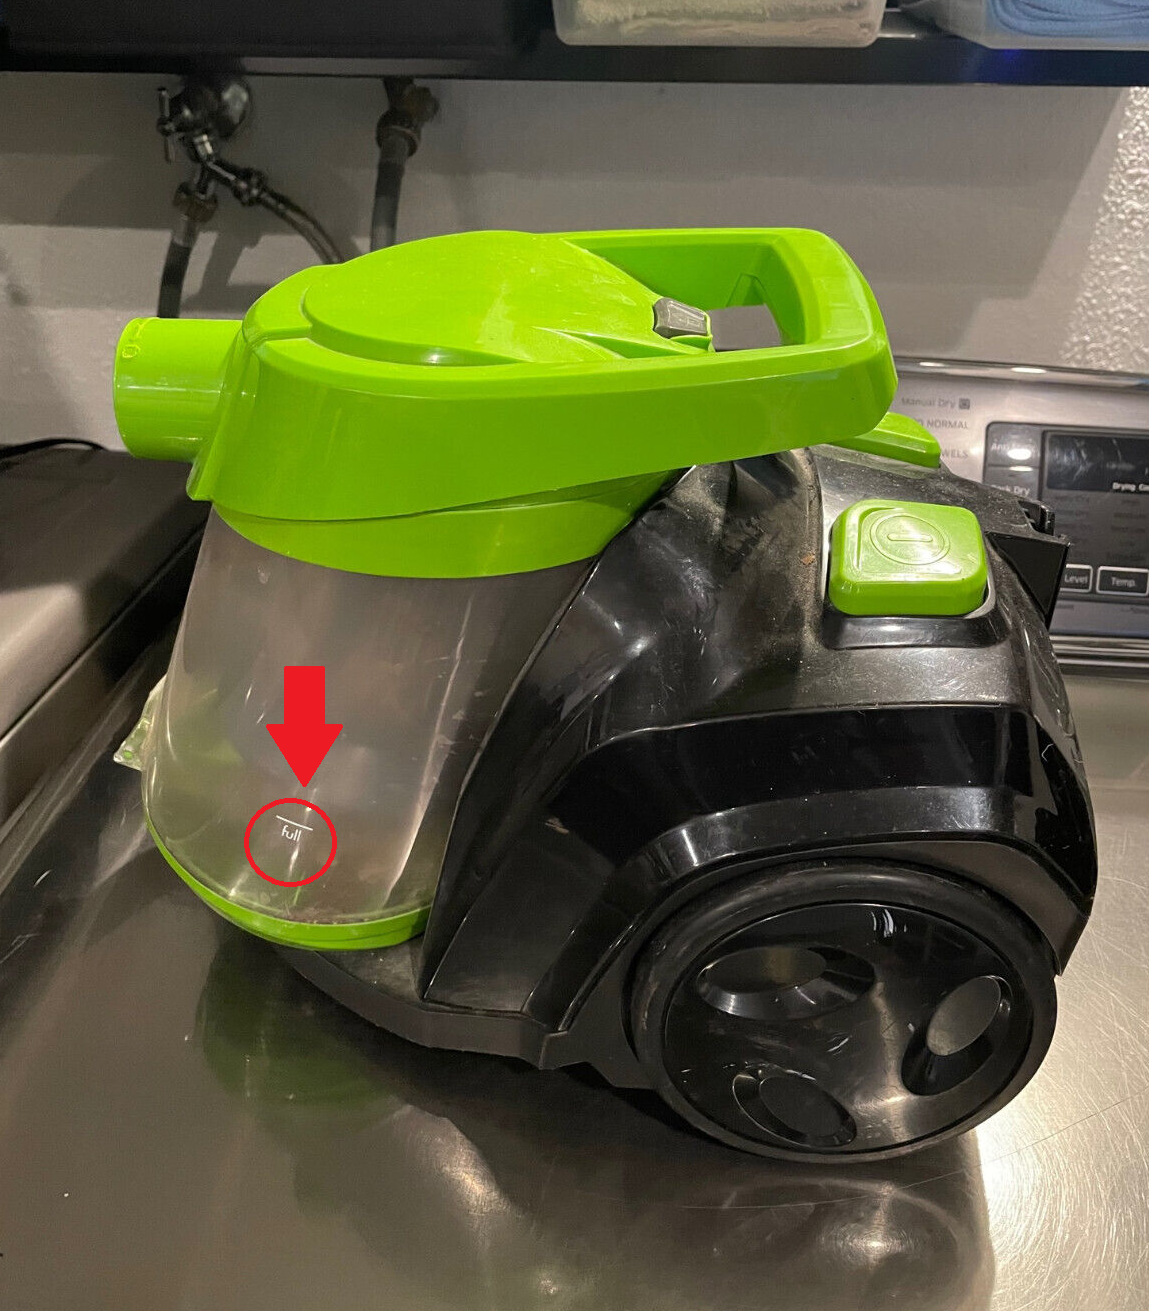
Vacuuming with a completely full dirt tank will cause suction issues or even overheating.

2. Remove Clogs
Clogs can form both within the vacuum head/brush roll and in the hose/wand of your Bissell vacuum:
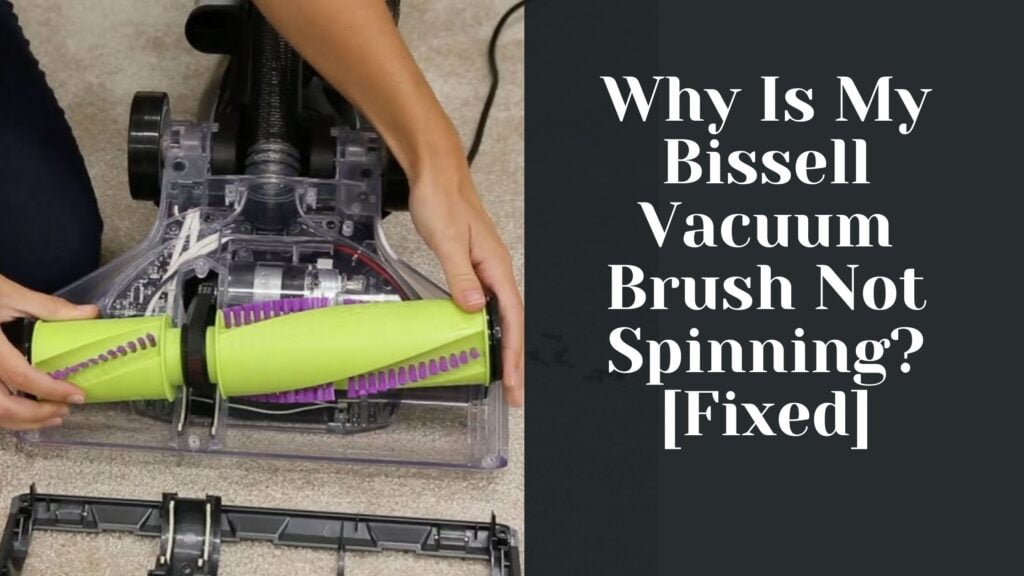
To remove clogged debris in the vacuum head:
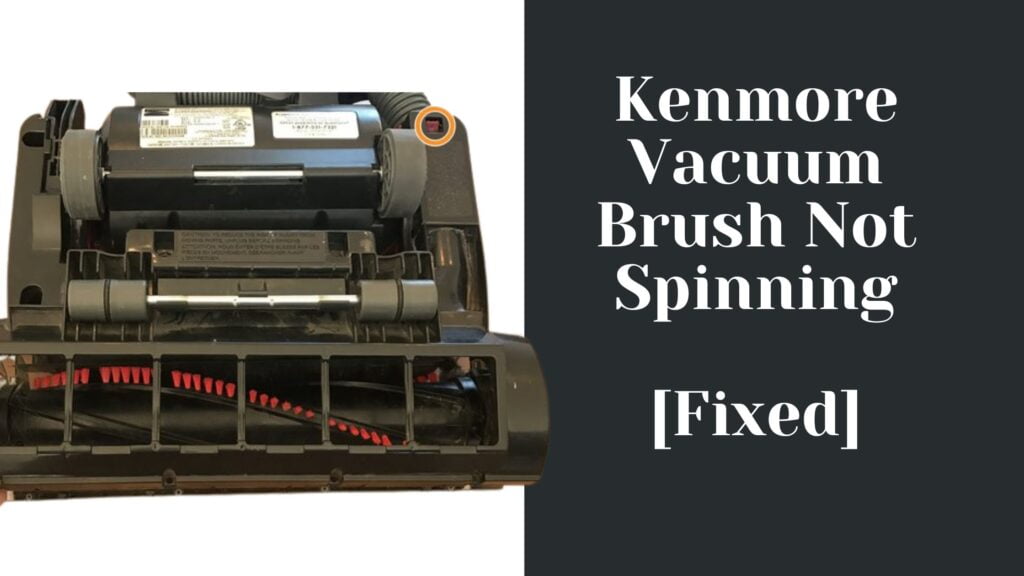
Floor heads mainly get clogged due to long hair wrapping around the brush roll.
When your Bissell vacuum brush is not spinning freely, it will put a strain on the vacuum motor, causing the machine to overheat.
Follow the steps below to clean the vacuum head/brush roll:
- Detach the head from your Bissell vacuum
- Flip it upside down
- Grab a screwdriver to remove the screws that keep the plastic plate at the bottom of the vacuum head in place
- Take off the plastic plate
- Remove the roller brush
- Use your hands or grab a pair of scissors to remove the hair wrapped around the roller brush
- Wash the brush with warm water
- Let the brush air dry
- Re-install the roller brush and the plate, ensuring that everything clicks correctly into place

Please note that, depending on your vacuum model, you may need to remove the brush roll from the top. If you are unsure, check the user manual.
Here is a video from Bissell’s YouTube channel on how to clean a Bissell brush roller:
To remove a blockage from your Bissell hose or extension wand:
- Detach the hose/extension wand from your Bissell vacuum
- Grab a long object, such as a broom handle, to dislodge any clogs present.
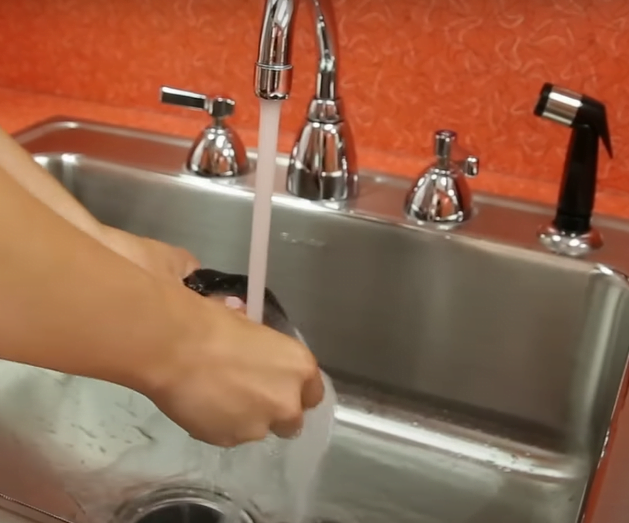
You may also want to wash the hose every couple of months or so:


- Fill the sink with enough water to completely submerge the hose
- Add dish soap or mild detergent
- Let the water run through the hose
- Use a cloth to clean the outer part of the hose
- Let the hose dry completely before re-attaching it to your Bissell vacuum cleaner
Here is a more comprehensive guide on how to clean a Bissell vacuum hose.
Alternatively, you can watch the video below from HooverLux Restorations that shows how to wash a vacuum hose:
3. Wash/Replace Filters
Most Bissell vacuum cleaners come with 2 or 3 filters, depending on the model you own.
For example, in a Bissell Pet Hair Eraser vacuum you will find:
- 2 filters in the dirt tank lid
- 1 filter beneath the dirt tank
The pre-motor filters (the ones under the dirt tank lid) are usually washable, but check the user manual to be 100% sure!
Simply wash them when necessary by rinsing them with warm water.
Let them dry thoroughly before installing them back into your vacuum.
The post motor filters (beneath the dirt tank) should not be washed.
Instead, you should gently tap the post motor filter on the inside of a trash bin and remove as much dust as you can.
Check your user manual to locate all the filters and ensure you remove clogs from all of them to prevent overheating.
Bissell recommends the following:
“You should check both filters monthly and wash or replace them every 3-6 months, or whenever they become dirty.”
Check this video to learn how to clean Bissell Pet Hair Eraser filters:
Check this video to learn how to clean Bissell CleanView filters:
4. Inspect The Belt
Bissell vacuum belts enable the brush roller to spin and collect debris on carpets.
A broken belt can cause strain on the motor, leading your Bissell vacuum to overheat.
Generally, a belt would break due to large debris clogging the brush which would put too much resistance on the belt.
Check your Bissell manual to see where your vacuum belt is located.
Inspect the belt and replace if needed, ensuring you purchase the correct belt for your machine.
5. Inspect The Power Cord
Even a damaged power cord may cause your Bissell vacuum to overheat.
Do the following to inspect the cord:
- Unplug the vacuum
- Inspect the power cord for loose wires or cracks
- Replace the power cord before you start using your Bissell vacuum again
Here is a video from ChickFix USA showing how to replace a vacuum power cord:
6. Clean/Replace The Cooling Fan
A dirty or broken cooling fan will make it difficult for the excessive heat to be expelled out of your Bissell vacuum.
Check the owner’s manual to locate your Bissell vacuum fan.
If the fan is too dirty, clean it thoroughly to remove as much dust as you can.
If the fan appears to be broken, replace it by following your Bissell user manual, or contact a professional for help.
7. Ask a Professional To Inspect The Motor
Replacing a broken motor can be challenging and even dangerous.
As a result, you should let a professional do it for you.
But first, check the date you purchased your Bissell vacuum.
Your machines may still be under warranty, meaning that you will not have to spend money on taking it to an independent professional 🙂
Bissell offers the following warranties:
- 90 Day Limited Warranty
- 1 Year Limited Warranty
- 2 Year Limited Warranty
- 3 Year Limited Warranty
- 4 Year Limited Warranty
- 5 Year Limited Warranty
- Limited Lifetime Warranty
However, the length of the warranty will vary depending on the type of product you own.
Find your Bissell vacuum by going to this page and check what warranty applies to your machine.
Regarding their warranty, Bissell states that:
- They will repair or replace your machine with new, refurbished, lightly used, or remanufactured components or products
- Repair/replacement is done free of charge from the date of purchase by the original purchaser
- The warranty applies to products used for personal, and not commercial or rental service
- The warranty does not apply to fans or routine maintenance components such as filters, bags, belts, or brushes
- They will NOT cover damage or malfunction caused by negligence, abuse, neglect, or unauthorized repair
Contact Bissell to see if they can fix/replace your vacuum cleaner.
Conclusion
Knowing what to do when your Bissell vacuum cleaner overheats can potentially save you hundreds of dollars!
Make sure you act quickly and go through the steps mentioned above.
To recap:
- Replace the bag or empty your Bissell vacuum dirt tank
- Remove clogs from the hose and brush roll
- Clean or replace your filters
- Inspect the belt and replace it if needed
- Replace the power cord
- Clean or replace the cooling fan
- Call Bissell or an independent professional