Is your Kenmore vacuum not picking up dog hair like it used to? You’re certainly not alone. Many pet owners face this issue, especially those with breeds that shed a lot. It’s frustrating when you have to go over the same spot multiple times just to pick up stubborn pet hair. Yet, there’s no need for despair – solutions are within your reach.
First off, let’s establish it’s not necessarily a flaw with your vacuum cleaner, although in some cases it might be. Often, the problem lies in simple issues like an overly full bag or filter or tangled brushes that need cleaning or replacing.
Understanding why your Kenmore isn’t doing its job efficiently can save you time, energy and unnecessary expenses on professional servicing or even a new vacuum cleaner. In this article, we’ll walk through common causes for this problem and provide practical solutions that you can implement right away.
Understanding the Problem: Kenmore Vacuum Not Picking Up Dog Hair
Have you noticed your beloved Kenmore vacuum struggling to pick up dog hair? If so, you’re not alone. Many pet owners experience this issue, causing a lot of frustration and extra cleaning time. But don’t worry, there’s usually an underlying cause that can be addressed.
First off, it’s important to understand why your vacuum might have difficulty with pet hair. Dog hair is notoriously tricky for vacuums due to its texture and shape. The strands can weave together forming clumps which often get stuck in the brush roll or clog the filters.
Let’s talk about some common culprits:
- Clogged Brush Roll: Over time, hair wraps around the brush roll making it less effective at picking up more hair.
- Dirty Filters: Pet fur can quickly clog your vacuum filters reducing suction power.
- Low Suction Power: This could indicate a larger problem with your vacuum’s motor or dust bag.
Running some quick checks on these parts might help pinpoint where the problem lies. For instance:
- Check if the brush roll spins freely when turned on.
- Inspect if there are clumps of fur caught in any of the filters.
- Test the suction power by trying to pick up small debris other than dog hair.
If you’re still having problems after these steps, then it could be time for a deeper investigation into your Kenmore vacuum’s mechanics or considering professional assistance.
Remember, regular maintenance such as cleaning out trapped hairs and replacing worn-out components can significantly improve your vacuum’s performance against stubborn pet fur!
Potential Causes of Reduced Suction Power
When it comes to your Kenmore vacuum not picking up dog hair, there are a few potential culprits. One of the most common causes is simply a full or improper bag. As the bag fills with dirt and debris, it can reduce suction power. You might find that replacing or emptying the bag gives your machine a new lease on life.
A second possible cause is blockages in the hose or nozzle. Dog hair has a way of winding itself around brush rollers, clogging up nozzles, and jamming hoses. So even if you’re doing regular maintenance, there’s still a chance that some pesky pet hair has found its way into an inconvenient spot.
Now let’s talk about filters. Your Kenmore vacuum relies on several filters to function at peak performance – these include pre-motor and exhaust filters among others. Over time, these filters can become clogged with fine particles which reduces airflow and ultimately weakens suction strength.
Another factor that could be contributing to reduced suction power is belt wear and tear. The belt in your vacuum connects the motor to the brush roll; if it’s worn out or stretched, this will impact how effectively your machine picks up dirt (including dog hair!).
Lastly but certainly not least – don’t overlook the possibility of mechanical issues. If you’ve checked all the above and you’re still having trouble with suction power, there could potentially be an issue with your vacuum’s motor.
- Full or improper bag
- Blockages in hose or nozzle
- Clogged filters
- Belt wear & tear
- Mechanical issues
How to Properly Clean a Kenmore Vacuum Filter
If your Kenmore vacuum’s not picking up dog hair as it used to, it could be due to a dirty filter. It’s important that you know how to properly clean the filter, ensuring optimum performance from your machine.
The first step in cleaning your Kenmore vacuum filter is to locate it. You’ll typically find it housed in the dust cup or behind the cover on the front of the unit. Once you’ve found the filter, remove it gently from its housing. Be careful not to damage any parts around it.
Before washing your Kenmore vacuum filter, give it a good shake over a trash can. This will dislodge loose dirt and debris stuck on it, making washing easier and more effective. Remember, cleanliness is key for optimal suction power!
Next comes washing. Rinse the filter under warm water until all visible dirt has been removed. You may use mild soap if necessary but avoid harsh detergents as they could damage the material of the filter.
After rinsing thoroughly, squeeze out excess water from the filter (avoid wringing). Then leave it out in an area with good air circulation to dry completely before reassembling back into your vacuum cleaner.
A quick note: Not all filters are washable so always check your user manual or consult with customer service before attempting this process! If yours isn’t washable, consider replacing with fresh ones periodically – usually every three months depending on usage and environment conditions.
- Locate and carefully remove
- Shake off loose debris
- Wash under warm water (mild soap if needed)
- Squeeze out excess water
- Dry completely before reinstalling
Remember these steps next time you notice decreased performance from your Kenmore vacuum cleaner — maintenance is easier than you think! Keep that device spic-and-span for an efficient pick-up of pet hairs and other stubborn messes around home sweet home!
Checking and Clearing Your Kenmore Vacuum’s Hose
The first thing you’ll want to do when your Kenmore vacuum isn’t picking up dog hair is to check the hose. Why, you ask? Well, it’s quite simple really. A clogged hose can significantly reduce suction power, making your cleaning efforts less effective.
To check the hose, start by detaching it from the main body of the vacuum. Hold one end up towards a light source. Can you see light at the end? If not, there’s likely a blockage that needs clearing.
Clearing a clogged vacuum hose doesn’t have to be a daunting task. Here are some steps to guide you:
- Stretch out the hose on a flat surface.
- Straighten out a wire coat hanger and use it to gently push through any debris lodged inside.
- For stubborn blockages, consider using a plumbing snake or a similar tool designed for unclogging pipes.
If all else fails and your hose remains blocked, don’t fret! It may be time for replacement. Fortunately, Kenmore vacuum hoses are easy to replace and relatively inexpensive.
Remember: Regularly checking and clearing your Kenmore vacuum’s hose will help maintain optimal suction power. This way, even stubborn dog hair won’t stand in its way!
Assessing the Condition of Your Kenmore Vacuum’s Brush Roll
Isn’t it frustrating when your vacuum just isn’t doing its job properly? You’re not alone. A common culprit is often a worn-out or malfunctioning brush roll. Here’s how to check if that’s what’s standing between you and a fur-free carpet.
First things first, safety should always be your top priority. Before you do anything else, make sure to unplug your vacuum from any power sources. This will prevent any accidental startups while you’re getting up close and personal with the brush roll.
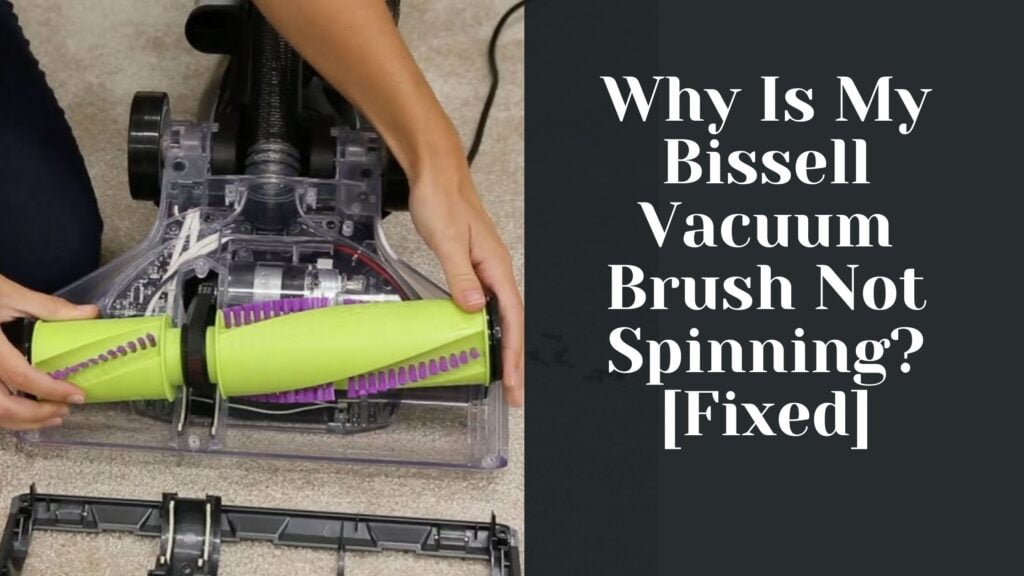
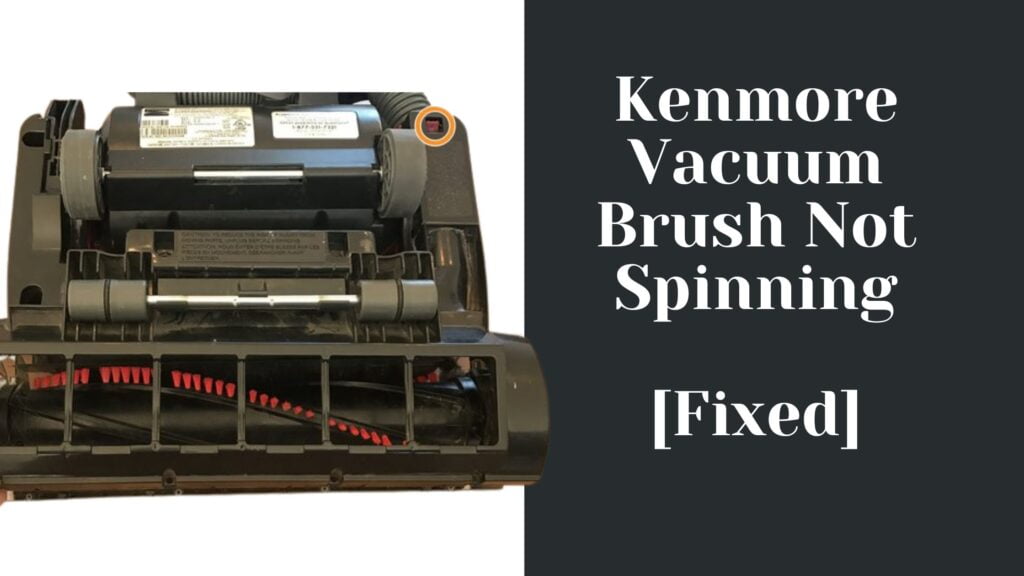
Next, locate the bottom plate of your vacuum which typically houses the brush roll. You’ll usually find this on the underside of your Kenmore model, attached by screws or latches. Carefully remove this plate to expose the brush roll.
Now it’s time to inspect the brush roll itself. Are there noticeable signs of wear? Look for frayed bristles or areas where they seem sparse – these could indicate that it’s time for a replacement. Also, take note of any pet hair tangled around it. Excessive amounts can hamper its ability to pick up debris effectively so ensure you untangle these before proceeding further.
Lastly, give attention to how smoothly the brush roll spins within its housing unit. It should rotate freely without much resistance; if not, there might be an issue with its bearings or axle.
In sum:
- Unplug your vacuum
- Remove bottom plate
- Check for worn-out bristles and tangled pet hair
- Test rotation
By following these steps diligently, you’ll have assessed your Kenmore Vacuum’s Brush Roll in no time!
Solutions: How to Improve Your Kenmore Vacuum’s Performance on Pet Hair
Are you struggling with your Kenmore vacuum not picking up dog hair? You’re not alone. Many pet owners face the same frustration, but don’t worry! There are several ways to improve your vacuum’s performance when it comes to dealing with pesky pet hair.
Firstly, check your vacuum’s bag or bin regularly. If it’s full, it can prevent the vacuum from picking up additional debris like dog hair. It’s recommended that you empty the bag or bin after each use, particularly if you have multiple pets or a long-haired breed.
Secondly, make sure to clean out any blockages in your vacuum. Dog hair can quickly clog up the hose and other parts of the machine, reducing its effectiveness drastically. Regular maintenance is key here; take some time every few weeks to disassemble and thoroughly clean the components of your vacuum.
Moreover, consider investing in specialized attachments for your Kenmore model. A turbo brush or pet hair tool can really make a difference in tackling stubborn fur stuck on carpets and furniture.
Another trick is adjusting the height setting on your cleaner head correctly according to floor type being cleaned (carpet vs hard floor). This simple adjustment could enhance pickup performance significantly.
Lastly, remember that certain types of flooring might require more than one pass with a vacuum to fully remove pet hair. Patience is crucial when dealing with this issue – don’t rush through cleaning tasks!
Optimizing these aspects should give a notable boost in how effectively your Kenmore deals with dog hair:
- Regular emptying of bag/bin
- Cleaning blockages
- Using specialized attachments
- Correct height adjustment
- Multiple passes over heavy shed areas
Remember: maintaining peak performance requires regular attention and care for both you and your trusty Kenmore!
Preventive Measures for Future Pet Hair Problems
So you’ve got a Kenmore vacuum and it’s not picking up the dog hair like it used to. Frustrating, isn’t it? There are certainly steps you can take to help prevent this problem from recurring in the future.
Firstly, let’s consider regular grooming for your pet. By keeping your furry friend well-groomed, you’ll significantly cut down on the amount of loose hair that ends up on your floors and furniture. This could include weekly brushing or even professional grooming services depending on the breed and size of your dog.
Secondly, invest in some pet-friendly furniture covers. They’re easy to remove and wash, which means less work for your vacuum. Not only will furniture covers protect against pet hair but they’ll also guard against dirty paws and any unexpected accidents!
Next up is making sure that you’re regularly maintaining your Kenmore vacuum. Don’t forget to empty its dust cup after each use, clean filters monthly (or as recommended by the manufacturer), and check brushes for tangled hairs frequently. A well-maintained vacuum is likely to perform better, last longer, and give fewer headaches when dealing with stubborn pet hair.
Lastly, consider using throw rugs in high traffic areas where your dog likes to hang out. Rugs capture a good amount of pet hair and are much easier to clean than trying to tackle an entire carpeted room.
Remember: prevention is key! By incorporating these simple practices into your routine, you can save yourself time cleaning while also prolonging the life of your Kenmore vacuum.
Conclusion: Maintaining an Efficient Kenmore Vacuum
Keeping your Kenmore vacuum in top shape is crucial to ensure it’s up for the challenge of picking up stubborn dog hair. Remember, regular maintenance isn’t just beneficial for pet owners; it’s a necessity for all vacuum users.
Firstly, you’ll want to regularly inspect and clean your vacuum’s brush roll. Dog hair can easily become tangled here, which might hinder its rotation and effectiveness. Cleaning this component every two weeks should keep it functioning optimally.
Next on your checklist should be the filters. Your Kenmore vacuum likely has several filters that trap small particles like dust and dander. If these become clogged with dog hair, they may not be as effective at filtering out other debris. Aim to check and clean these filters monthly.
Another key part of maintaining an efficient Kenmore vacuum is emptying the dust bin or replacing bags frequently. When it gets too full, suction power can decrease significantly making it harder for the machine to pick up dog hair.
Lastly, don’t forget about routinely checking hoses for blockages and belts for wear and tear as they are also essential parts of your vacuums effective operation.
- Regular Brush Roll Maintenance
- Monthly Filter Checks
- Frequent Dust Bin Emptying/Bag Replacement
- Routine hose and belt checks
Investing time into maintaining your Kenmore vacuum will pay off in its performance when tackling challenging tasks such as picking up dog hair! By following these tips, you’ll keep your home cleaner and extend the lifespan of your trusty appliance.


